10 Tips for Selecting HPLC Vials
There are a lot of factors to consider when selecting a chromatography vial. Selecting the best vial for your needs can not only increase the ROI of your processes but protect the viability of your samples. There is also a risk that your sample could degrade if not collected and stored properly.
The following tips should be considered during the vial selection process for the sample you are analyzing.
1) Check your autosampler for compatibility
If you are using an autosampler, be sure to confirm compatibility with the manufacturer requirements before referencing this guide.
There are hundreds of models of autosamplers available, each with their own purpose and specifications for use. Some use robotic arms to pick up the vial while others rotate the tray and align the sampling needle to the vial.
Most autosamplers require a very specific vial size and closure type for proper usage. If the wrong type of vial is used with your autosampler, this could result in mechanical damage.
Reference our vial compatibility chart here
2) Check the quality of the vials
Oftentimes, you are dealing with tiny amounts of a sample that needs to be measured as accurately as possible. Additionally, you may have strict requirements for inertness and cleanliness.
Regardless, it is critical to minimize the risk for contaminating or comprising the sample. Ensure the products you purchase have a quality certification such as ISO9001:2015 and validate the processes for which the vials and any related accessories such as septa or inserts are produced.
Check to ensure the vial manufacturer has policies for cleanroom production and R&D/Quality Control measures in place. Experienced technicians should be auditing products to ensure the highest possible quality.
View ISO9001:2015 certified vials
3) Select the proper closure
There are several different types of closures available for vials depending on your autosampler requirements or needs for analysis including:
- Screw top - reusable and require no special tools to apply
- Short thread 9mm (ND9)
- Screw neck 10mm (ND10)
- Screw neck 13mm (ND13)
- EPA 24mm (ND24)
- Storage vials (variety of sizes)
- Crimp top - require aluminum crimp seals and are not reusable but provide the best seal for longterm storage
- Crimp neck 8mm (ND8)
- Crimp neck 11mm (ND11)
- Storage vials (variety of sizes)
- Snap ring - not as secure of a seal as screw or crimp tops but are less prone to breakage during decapping
- Snap ring 11mm (ND11)
- Snap ring 18mm (ND18)
- Snap ring 22mm (ND22)
- Headspace - available in either crimp top or screw top options
- Screw neck (ND18)
- Crimp neck (ND20)
- Shell - economic alternative to screw top
- Neckless (variety of sizes)
View vials and filter by category to find the closure you need
4) Consider your sample size
There are many different sizes available for vials depending on the type of vial chosen. You should determine the size of your sample up front and confirm the working volume of the vial prior to purchase. The most common sizes for vials include 1ml, 2ml and 4ml.
View vials and filter by Working Volume to find the right size
5) Select the proper cap and septum
Proper cap and septum selection is critical to preventing contamination and avoiding damage to the needle and instrument. There are several types of caps and septa available including:
- Screw top caps - open / closed option
- Short thread caps - open / closed plus magnetic option
- Snap ring caps
- Push-on caps
- Crimp top caps - center hole option
- Headspace caps - pressure release option
Caps are typically either made from aluminum for crimp top vials or plastic for non-crimp top vials. There is usually a septa lining the inside of the cap with PTFE lamination that faces the sample. Septa are also sold separately for insertion into caps.
Chemical compatibility can vary depending on the concentration of the solvent, temperature, molecular weight of the solvent, and other factors. Therefore it is always recommended you to try a variety of septa to determine the best one for analysis.
Reference our septa compatibility chart here
View chromatography caps
View chromatography septa
6) Consider an insert for smaller sample sizes
Micro-inserts are designed to maximize sample recovery and are either integrated within the vial or sold separately for a removable option. The insert reduces the surface area inside the vial making it easier to recover the sample.
There are several types of inserts available including:
- Cone-shaped inserts
- Inserts with springs - top or bottom options
- Shell style inserts
Micro-inserts are typically used for micro-volume sampling for smaller sample sizes. If you are dealing with an inert material such as a PH-sensitive or biological sample, a plastic polypropylene insert is recommended.
7) Select the vial material
Vials are either made from glass or plastic.
Glass is a common choice for most labs since it is pure and more heat resistant than plastic. Type I Borosilicate glass tends to be a better option for higher-end laboratories testing PH sensitive samples due to its highly resistant composition.
Plastic vials can be used to provide a higher chemical resistance and lighter weight construction. Plastic vials can also be used for samples that are sensitive or stick to glass. As an added bonus, plastic vials tend to have a higher durability and are usually more affordable.
However, not all plastic vials are created equal so be sure to check the type of plastic used. Polypropylene is by far the best option for plastic vials due to its good chemical resistance for short term storage. They can also be incinerated while sealed limiting exposure to hazardous materials.
View vials and filter by vial material
8) Choose the best vial color for your sample
Both plastic and glass vials come in clear or amber options. If the sample you are working with is easily damageable or sensitive to UV light then you definitely need to use amber vials. If light sensitivity is not a concern or you need to be able to visually assess the sample during testing, clear vials can be used.
View amber vials
View clear vials
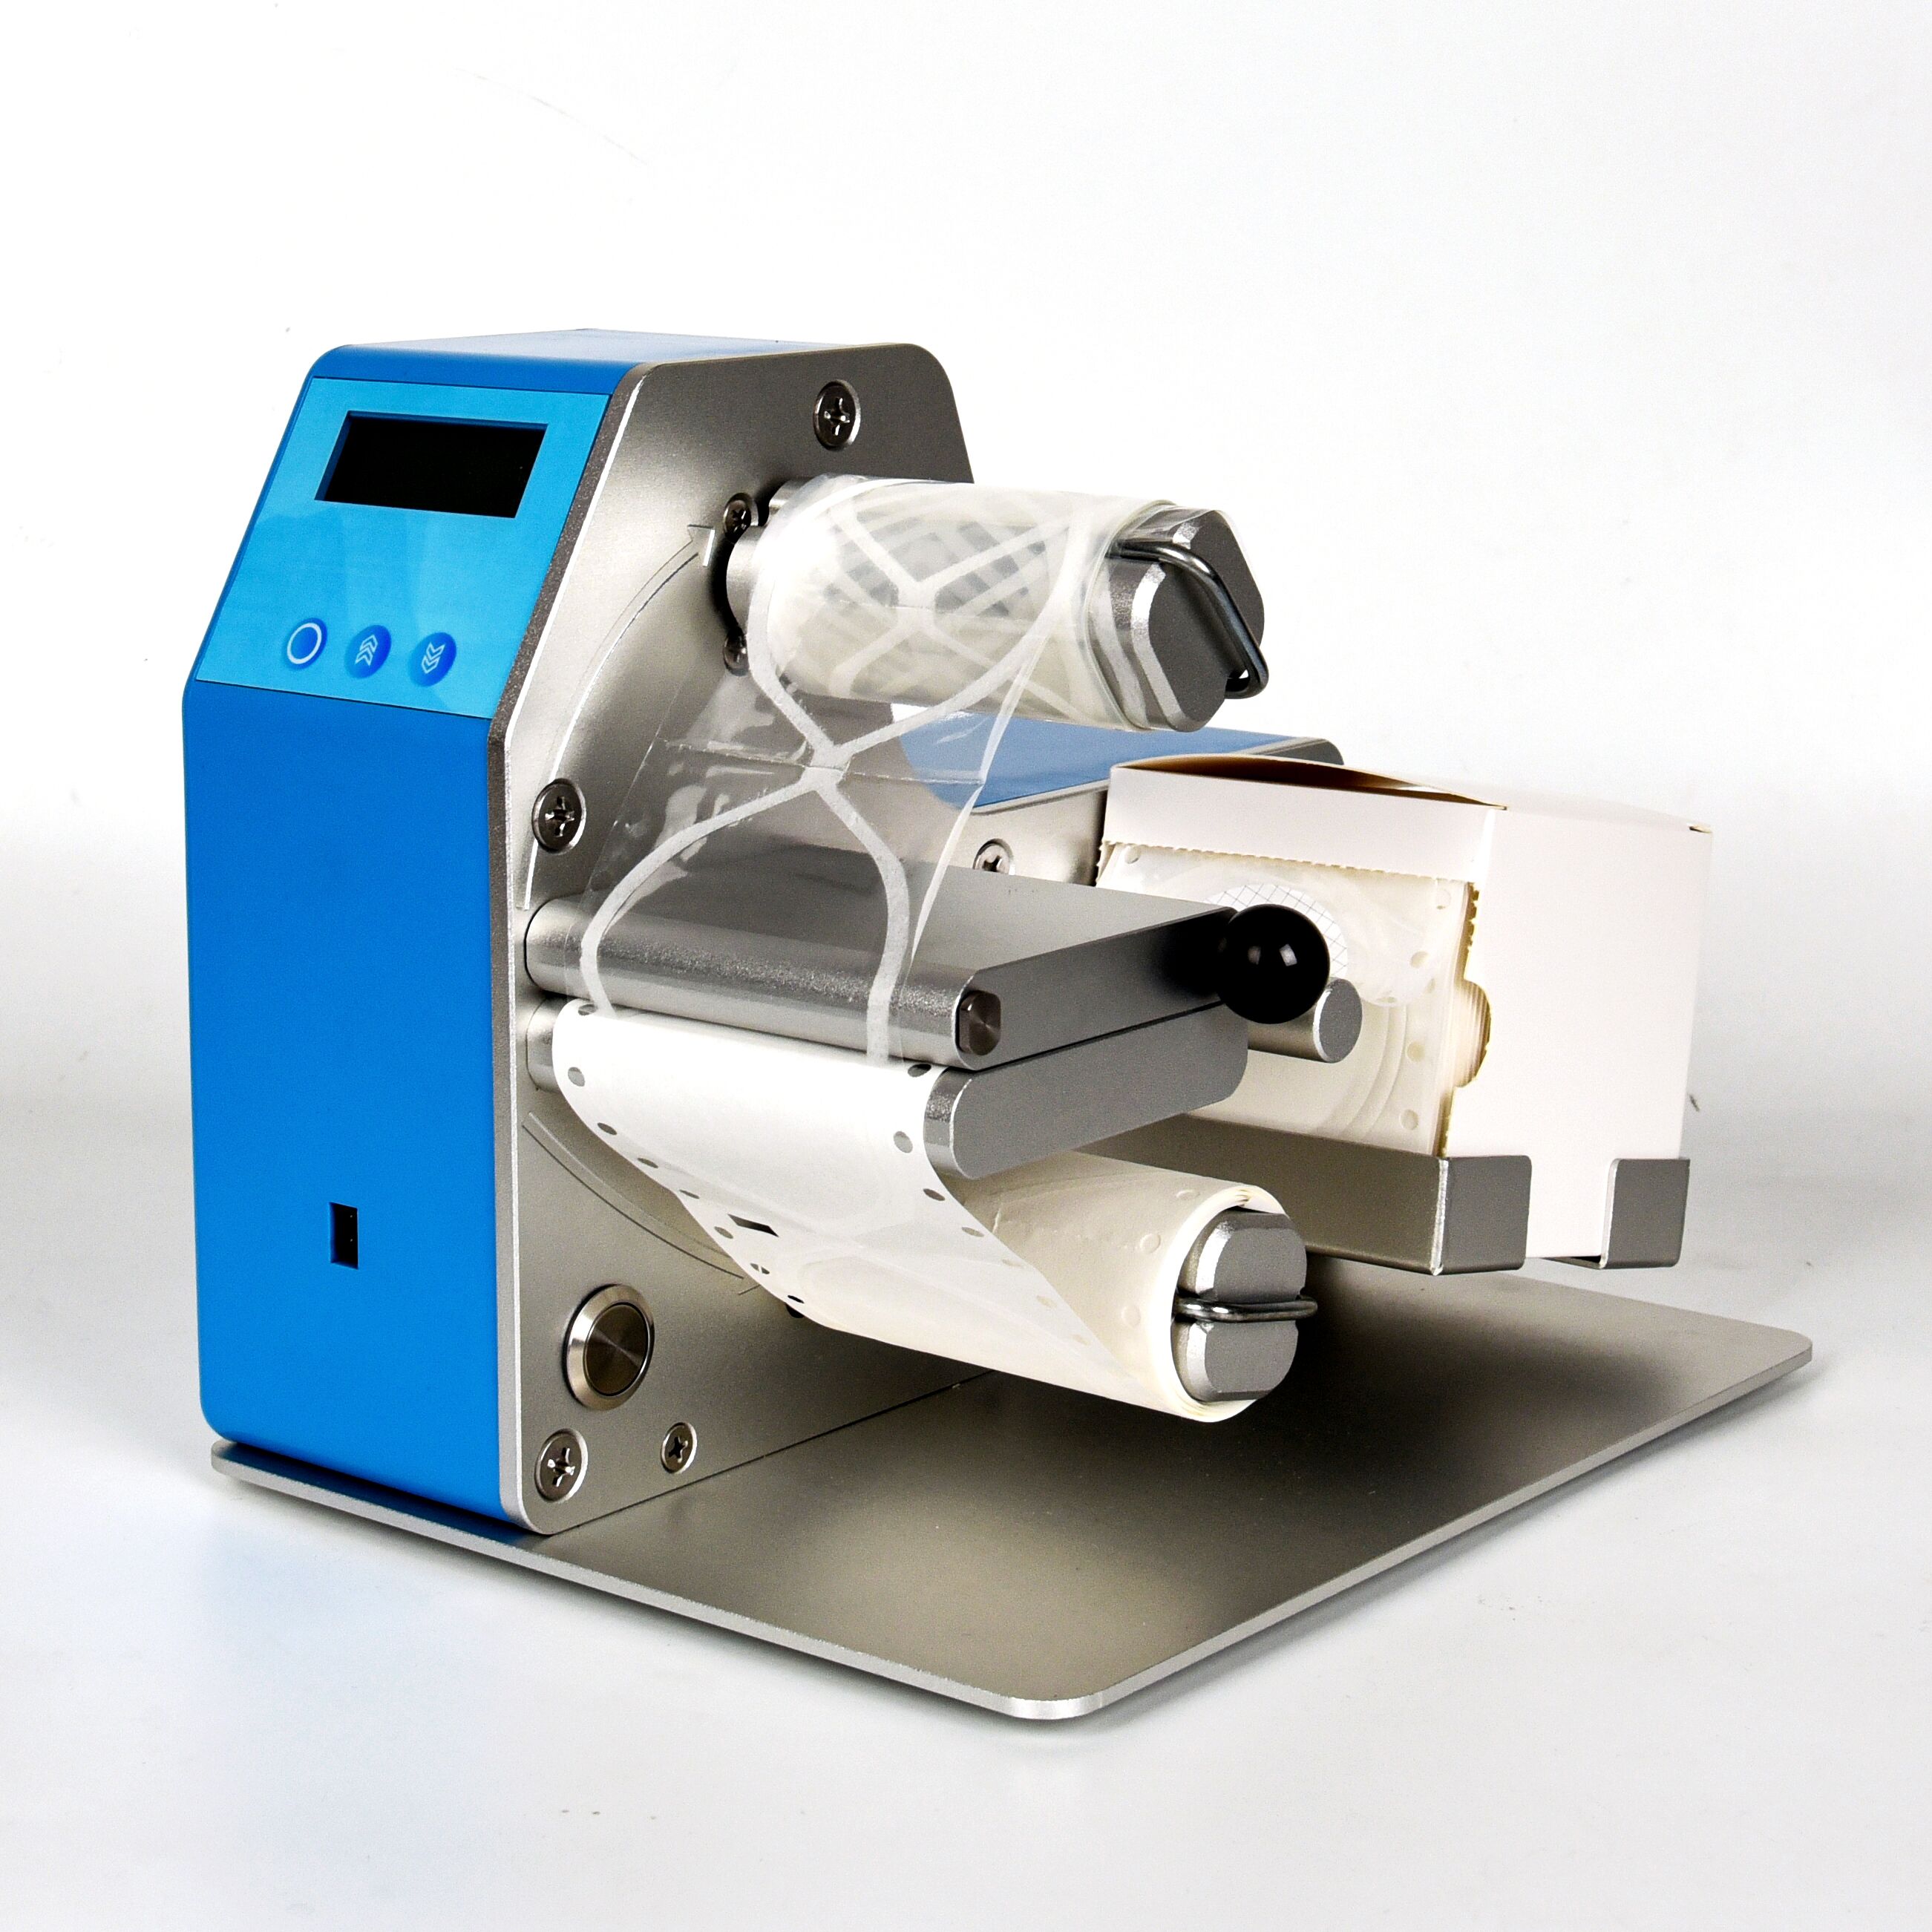
9) Determine a consistent method for labeling
Many vials come with writing areas for easy labeling. Consider this writing patch option if you don't have an automatic or manual label printer. Either way, you'll want to plan a system for labeling prior to sampling so you can easily find samples and know exactly what they are.
View vials with write-on spots
View vials without write-on spots
10) Determine the best storage method
The most common method for storing vials is utilizing a tube or vial rack. You will want to make sure the rack you purchase will fit the vial size you are trying to store. Additionally, several vial racks are compatible with autosampler usage. Check with the autosampler manufacturer to confirm.